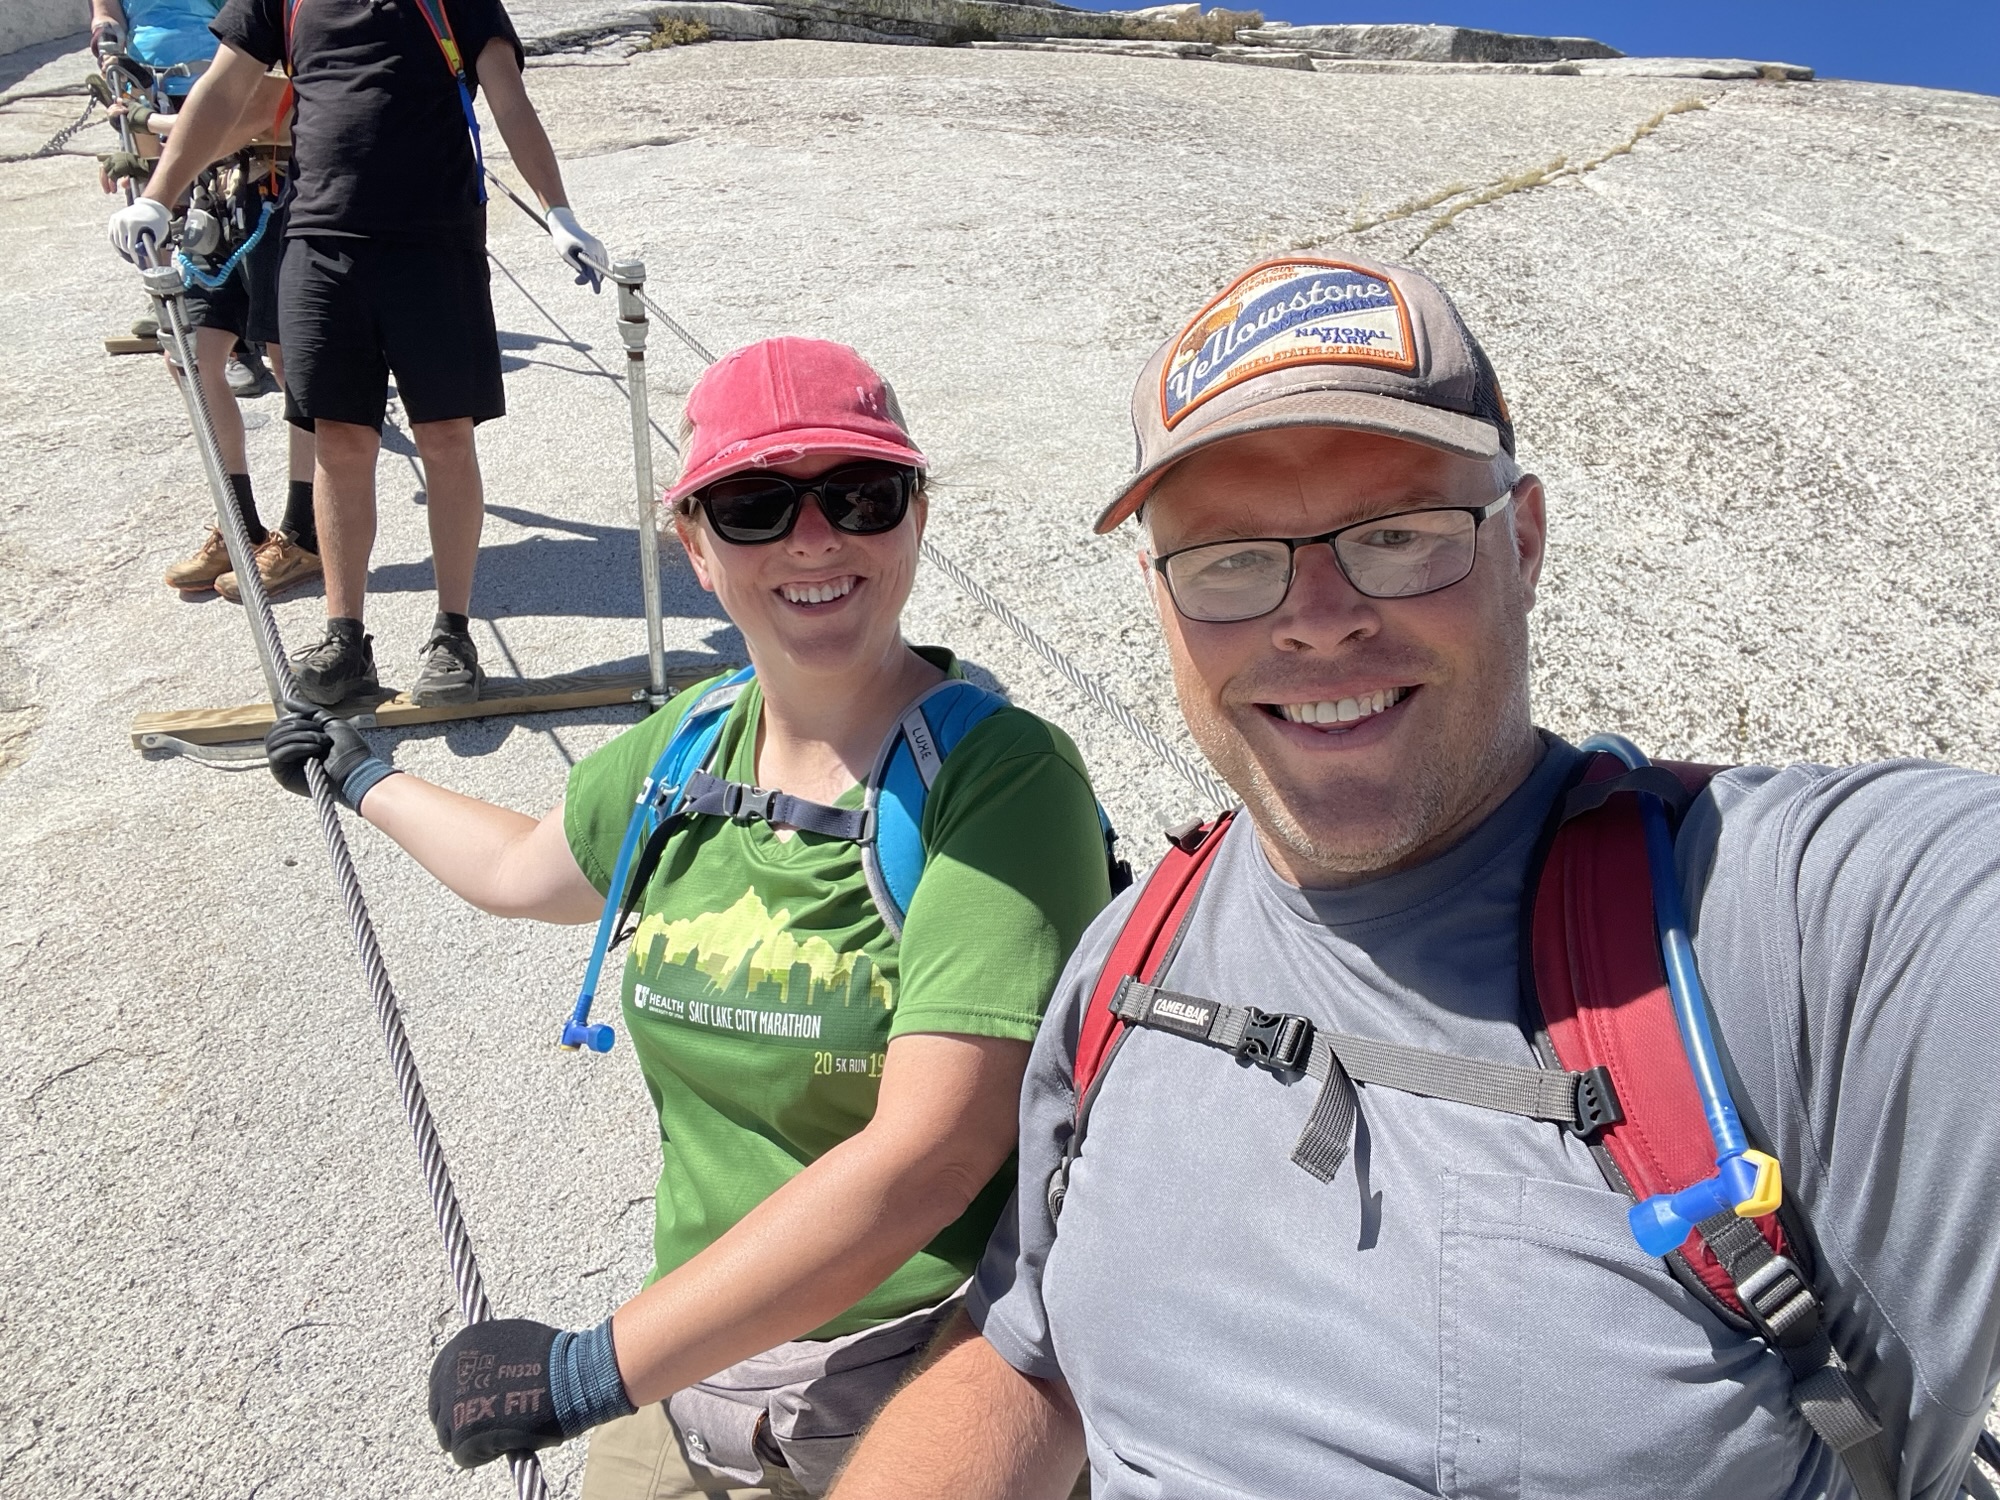
Hiking Half Dome was one of the most challenging and rewarding things I’ve ever done. It’s not just a hike — it’s a full-day endurance event that requires planning, preparation, and a little grit.
If you’re considering hiking Half Dome in Yosemite National Park, preparation makes all the difference between a stressful day and an unforgettable one. Here are my top tips for getting permits, training effectively, packing the right gear, and knowing what to expect on the trail.
Disclosure: This post contains affiliate links. If you click and make a purchase, I may earn a small commission at no extra cost to you. Thanks for supporting my blog!
Permits: How to Get One (and My Best Tip)
You must have a permit to hike beyond the base of the Subdome and climb the cables when they are up. The cables are typically installed between Memorial Day though mid-October. The park limits the number of hikers to 300 people per day (225 day hikers and 75 backpackers) to reduce crowding and improve safety.
*Note: Backpackers who want to camp in Little Yosemite Valley and climb the cables follow a different process – they should apply for a Half Dome permit along with their wilderness permit through Recreation.gov.
Preseason Lottery
Most people get their permits through the preseason lottery, which runs every March.
Additional permits become available each day during the hiking season through a daily lottery based on cancellations. You can enter the daily lottery two days before your desired hike date.
Here’s how the preseason lottery works:
- Apply through Recreation.gov between March 1-31 – fee is $10 per application
- You can request up to 7 different dates or date ranges
- Results are announced in mid-April
- If selected, you pay an additional $10 per person
- Instructions are emailed to you – the printable permit itself is sent about a week before your hike date
Top Tip for Preseason Lottery Success
I applied for permits two years in a row and got one on my second try. The first year I request 7 specific dates, not realizing you can choose date ranges. My second attempt at a permit was successful due to this key tip:
Choose the widest possible date ranges. Don’t stress about getting the permit on a specific date.
That’s what I did – I knew certain weeks of the summer would not work, and I excluded those from the date ranges I selected, but aside from that, I was an open book in my application. I basically told the lottery system: “Give me any day, and I’ll make it work.”
Flexibility dramatically improves your chances of getting selected because permits are awarded only if space is available on your requested dates.
Printing the Permit
After you win the lottery, you’ll receive an email confirmation. But the actual printable permit typically isn’t available until about a week before your hike.
That created a real headache for us, since by the time the printable permit was emailed to us, we had already been living out of our trailer with no access to a printer. We actually went out of our way to find one between Kings Canyon and Yosemite. I called around print shops in Fresno, and the UPS Store said they could print it for us – but when we got there, their computer wasn’t working.
I honestly don’t even remember how we finally got it printed — but we did.
And then the ranger at the checkpoint didn’t even ask to see it. She simply crossed our names off a list.
Despite this, I’d still recommend having it printed, or the digital version readily available on your phone – have a snapshot saved to your photos so you don’t have to rely on cell service. Better to be safe than sorry.
You’ll also need a photo ID that matches the name on the permit.
What to Pack for the Hike
This is a long day — typically 16–20 miles with thousands of feet of elevation gain — so packing smart makes a huge difference.
Here’s what I recommend each person bring in their backpack:
Absolutely essential
- CamelBak or hydration pack with 4-5 liters of water
- Chris likes the CamelBak Fourteener, and I like the CamelBak M.U.L.E.
- 2 x 20 oz bottles of Gatorade, frozen
- There’s not much better than a slushy Gatorade at the summit of a strenuous hike
- Trail mix for the journey
- Check out my elevated trail mix recipe
- Lunch for the summit (sandwich, banana, string cheese, fruit snacks, etc)
- Bring more than you think you’ll need, you’ll have burned a lot of calorites!
- Good hiking shoes – not brand new, with strong traction and good grip on granite
- I currently use Salomon hiking boots, but have used and loved Merrell hiking boots in the past, and Chris also likes Merrell Men’s hiking shoes as well.
- I prefer hikings boots over shoes – the higher ankle heights helps me with stability.
- Gloves for the cables
- Nothing too fancy, these nylon work gloves were inexpensive, simple, and very effective!
- You will ABSOLUTELY FOR SURE want these for the cables – don’t shred your hands!
- Hat
- Sunglasses
- I bought these polarized sunglasses specifically for my Grand Canyon adventure and they were great! But I recently discovered how much I love these goodr polarized sunglasses – they stay in place and don’t bounce.
- Sunscreen
- Compostable toilet tissue
- Hand sanitizer
- Printed permit – or access to digital version
- Photo ID matching the name on the permit
- Phone or map
Strongly recommended
- Ibuprofen/Tylenol
- Moleskin or blister treatment
- Kinesiology Tape for problem areas
- Extra pair of socks (in case you want to swap for a clean pair at some point)
- Lightweight jacket
- Water filtration system
- Headlamp or flashlight (especially if starting early)
- This portable fan with lights would be perfect – I used this for the Grand Canyon and would have loved having it on the Half Dome. The battery power is crazy good, it acts as a flashlight and a fan to keep you cool.
- Portable charging bank
- This VEEKTOMX power bank has been great! We’ve had it for years.
- I had my FitBit and the AllTrails app both tracking our progress, which takes battery life – not to mention I was also listening to music or audiobooks while hiking
Optional
- Trekking poles
- We brought them but they were more of a nuisance than anything, and I actually dropped one by accident never to be seen again.
- When we hiked the Grand Canyon, we used these Foxelli Carbon Fiber Trekking Poles, and they were much nicer!
- Climbing harness with two via ferrata lanyards and two locking carabiners
- Opinions on this are divided – do whatever feels right for you. We didn’t use them.
- Headphones
- Chris uses ISOtunes Bluetooth headphones because they block out noise
- I use SHOKZ OpenFit headphones because I CAN hear my surroundings and can stay safe on the trails
- Downloaded music or audiobooks
How We Trained for Half Dome
Mostly just consistent hiking. For several months leading up to our trip, we did the following:
- 1–2 shorter hikes per week
- One longer hike each month with increasing distance and difficulty
- Early July 2023 – we hiked part of Mount Ogden via Beus Canyon Trail in Ogden, UT
- We did 7.6 miles with 2,884 ft elevation gain
- Late July 2023 – we hiked Lewis Peak via South Skyline Trail in North Ogden, UT
- We did 12.3 miles with 3,041 ft elevation gain
- Late August 2023 – we hiked Ben Lomond Peak via North Skyline Trail in North Ogden, UT
- We did 18.1 miles with 3,655 ft elevation gain
- Early July 2023 – we hiked part of Mount Ogden via Beus Canyon Trail in Ogden, UT
Though keep in mind, from my experience training for our Grand Canyon adventure, consistent shorter but steep hikes can be sufficient preparation. I have also found that in staying active by training for and participating in 10Ks and Half Marathons each year keeps me relatively hiking fit. I figure if I can run 3 miles, I can probably hike 10.
How I Trained for the Cables (My Unconventional Method)
I have pretty limited upper body strength. After my experience on Angels Landing, I knew pulling myself up cables would be difficult. Since I don’t believe in paying to exercise (though Chris will refute this — he claims paying to run community races absolutely counts), I had to get creative in figuring out how to train for the cables. I ended up using two strategies.
Pull-ups
Chris installed a pull-up bar in our basement, and I attempted pull-ups on a consistent basis throughout the summer preceding our trip.
I never successfully did a single one – and I am not confident I ever will! But I think all the time I spent trying did actually help.
Car Towing
How else could I prepare to pull myself up the cables? How could I duplicate the effort involved in pulling myself up a mountain using cables?
We came up with something a little silly. It was actually Chris’s idea. Maybe once a week for a couple months leading up to our trip, the whole family would drive to the church parking lot. Chris would attach a tow rope to our SUV, and he’d put it in neutral.
While Chris and the kids sat inside the SUV, I’d pull.
I literally pulled the family in the SUV back and forth across the parking lot.
It was a bit embarrassing sometimes – there is a picnic area nearby and sometimes families would be there and would watch me pull. Maybe we should have done it in the dark.
Though it sounds a bit silly, I really think it helped me tremendously! Getting up those cables was HARD. I may not have made it to the top without this unconventional method of training.
Chris, on the other hand, did nothing to prepare for this.
Bathrooms and Water on the Trail
Bathrooms
Bathroom options are limited on this trail, and most are basic backcountry toilets that do not flush. Also be prepared for them to not be fully stocked, hence my advice above to bring compostable toilet tissue. Here are the reliable bathroom locations on the Mist Trail route:
- Trailhead (Happy Isles)
- Near Vernal Falls Footbridge
- Top of Nevada Falls
- Little Yosemite Valley Campground
After that, there are no reliable bathrooms. We did stop at the Nevada Falls toilets both going up and down and that was sufficient for us.
Water
There are no water refill spigots anywhere on this trail, but there are several spots where you can refill using natural water sources. However, all of these sources require filtration to be safe.
There are reliable water sources at Vernal Falls, Nevada Falls, and Little Yosemite Valley. Seasonal streams along the trail can dry up later in the summer, so they should never be your primary plan. The safest approach is to simply start with plenty of water and bring a way to filter if needed.
Final Advice
Really the hardest part of hiking the Half Dome is getting the permit to begin with. If you’re flexible enough on dates, get lucky with permits, and are willing to put forth the effort to prepare, the hike is strenuous but doable. If I could do it, I think almost any reasonably fit person can too.
These tips will make your day trip safer, smoother, and far more enjoyable.
Showing up unprepared doesn’t just create risk for you – it can create danger for everyone on the trail, especially on the cables. So plan ahead, pack smart, start early, and take it one step at a time!

Enjoyed this post? Subscribe below to get new posts by email!
Click here to see all posts related to the 4-National Park Road to the Half Dome!
Leave a Reply